Installation Guide
Everything you need to install Custom Signup Forms and publish a branded signup form on your BigCommerce storefront.
Custom Signup Forms replaces your store's default account registration with a form you design, and holds new signups for your approval before creating the customer.
Before you install
Make sure your store is ready. You'll need:
- A BigCommerce storeAnd a login that can install apps. On a standard (Stencil) storefront you add no code: the app puts the form on your create-account page when you activate it. A headless storefront (Catalyst, Next.js, Nuxt, React, Angular or any other web framework) needs a short embed snippet from your developer and the Pro or Enterprise plan.
- Customer groups (optional)If approved applicants should join a group, such as Wholesale, create the group in BigCommerce first so you can pick it in the app.
- An email (SMTP) account (optional)Customer emails (Standard plan and up) are sent through your own provider, such as Brevo, SendGrid or Gmail. Keep its SMTP details at hand.
Permissions
BigCommerce shows the exact permissions on the install screen. The app uses them to:
- Customers - create approved applicants as BigCommerce customers and list your customer groups.
- Content (scripts) - add and remove the storefront script that shows your form.
- Channel settings - list your storefronts, so multi-storefront can serve a different form on each.
The app never reads or writes your store's orders or payment data.
Installation steps
Six steps from install to a live form.
- 1Install the appOpen the Custom Signup Forms listing on the BigCommerce App Marketplace and click Install.
- 2Approve the permissionsBigCommerce lists what the app needs (see Permissions) and asks you to confirm. The app then opens in your control panel.
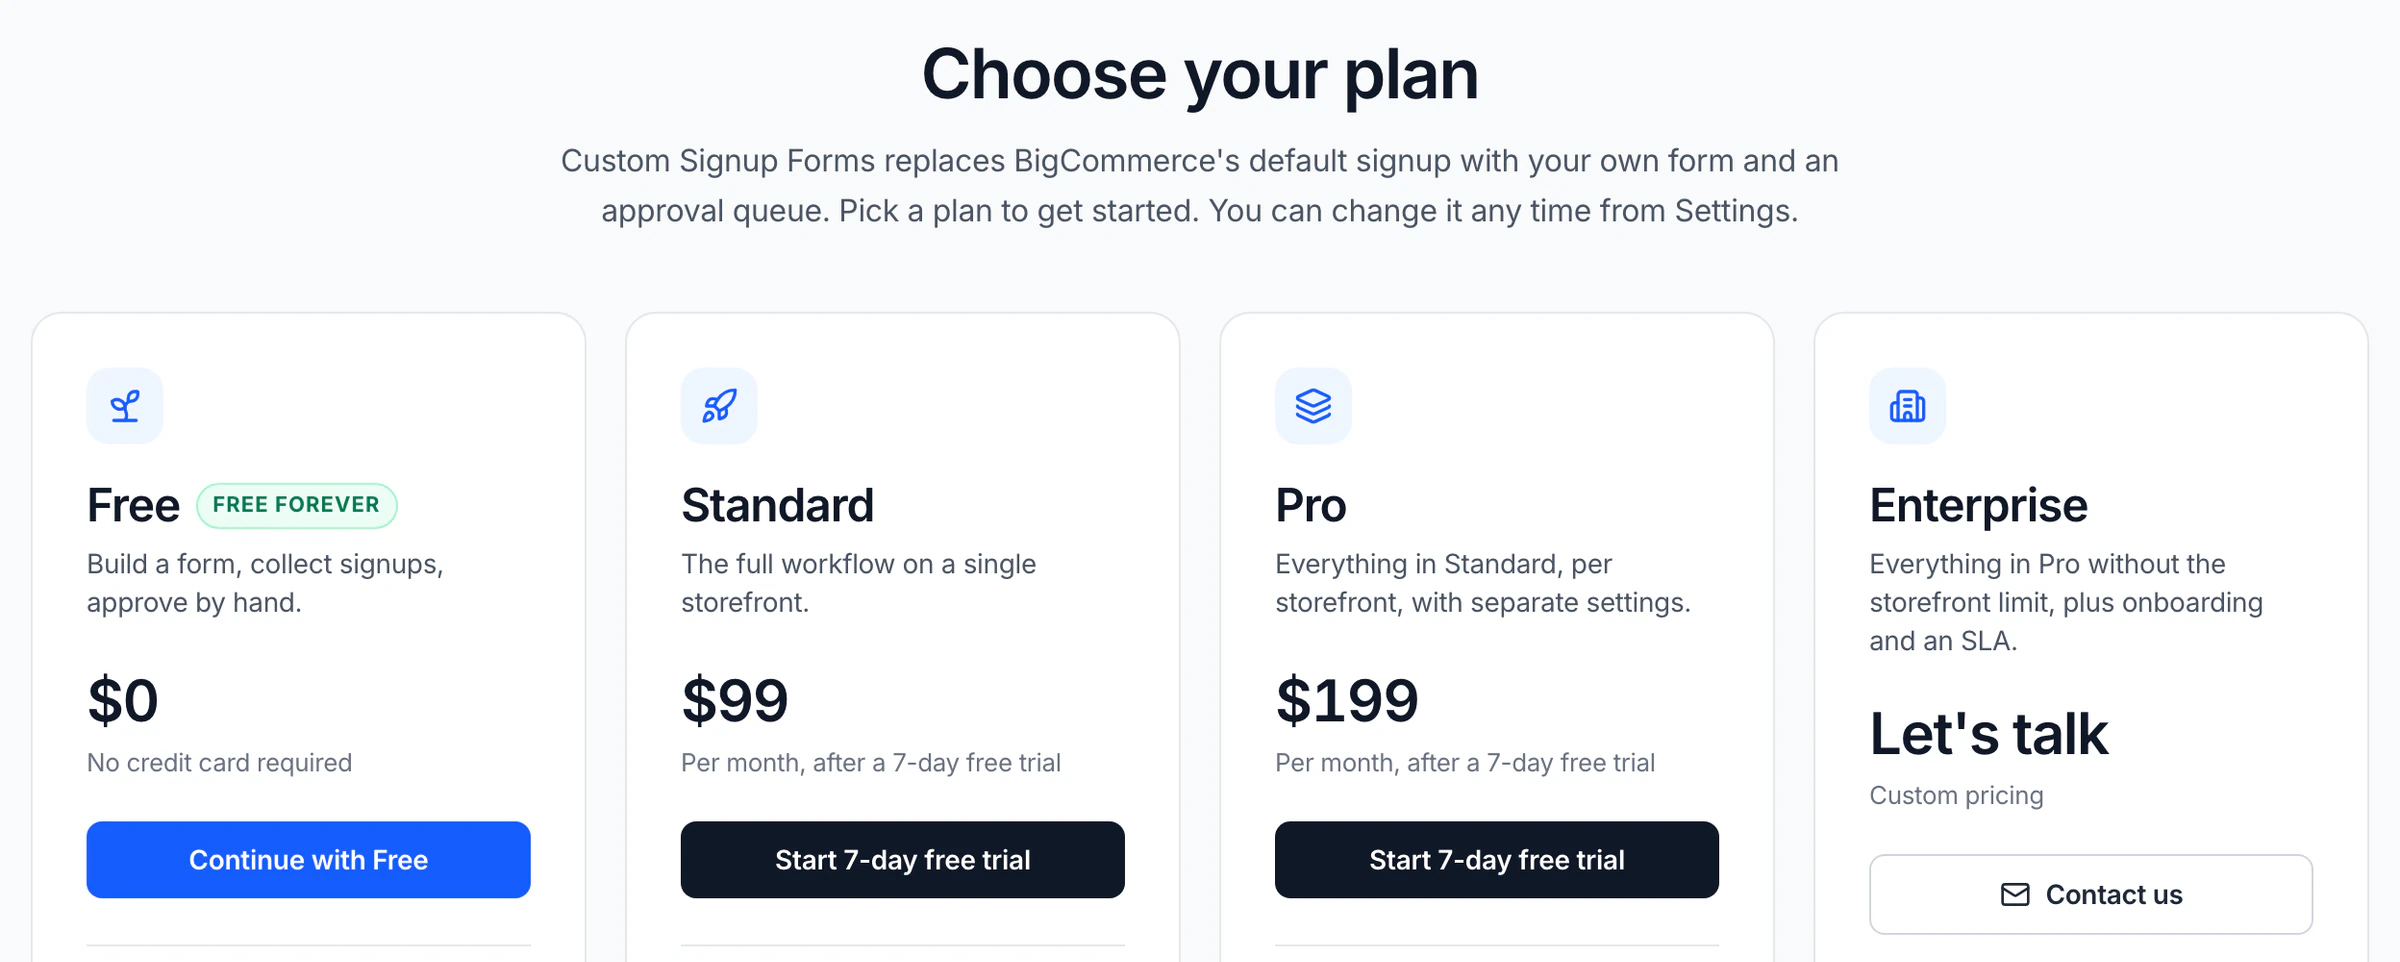
- 3Choose a planStart on Free, or pick a paid plan with a 7-day free trial. You can change plan later under Settings → Subscription.
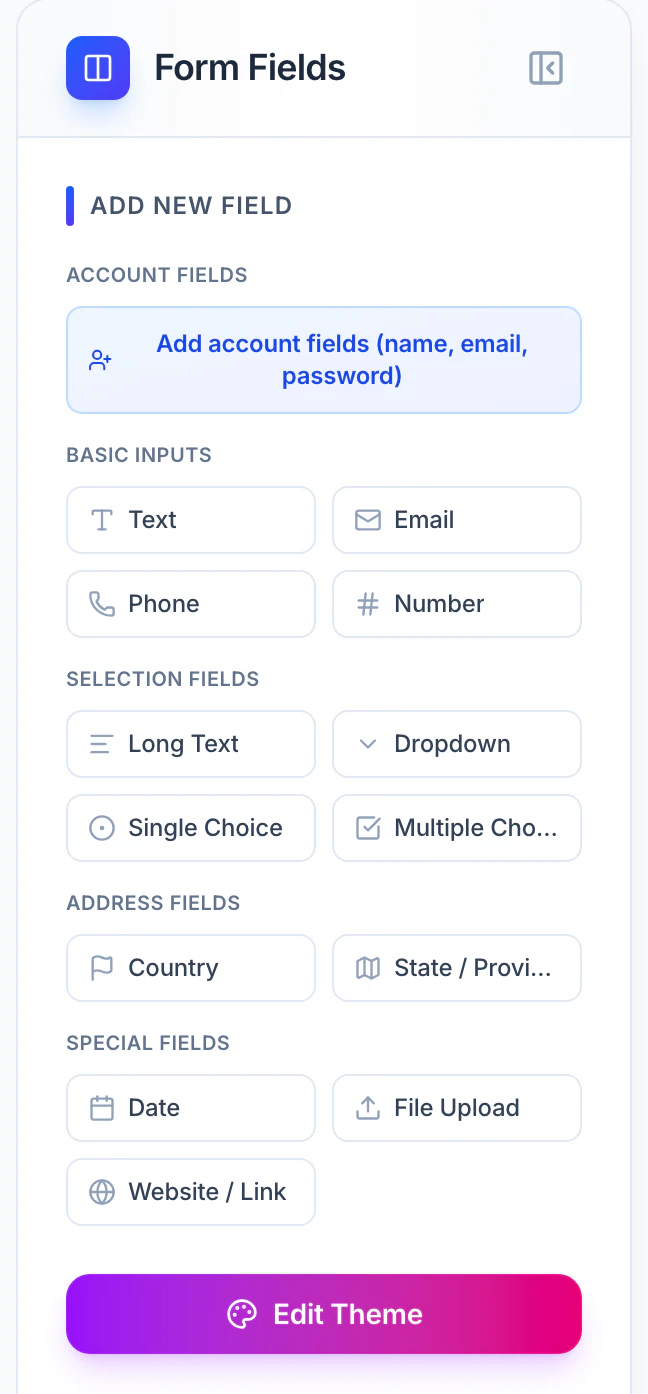
- 4Build your formIn Form Builder, click New Form, add the account fields (name, email, password) and your own fields, style it and click Save.
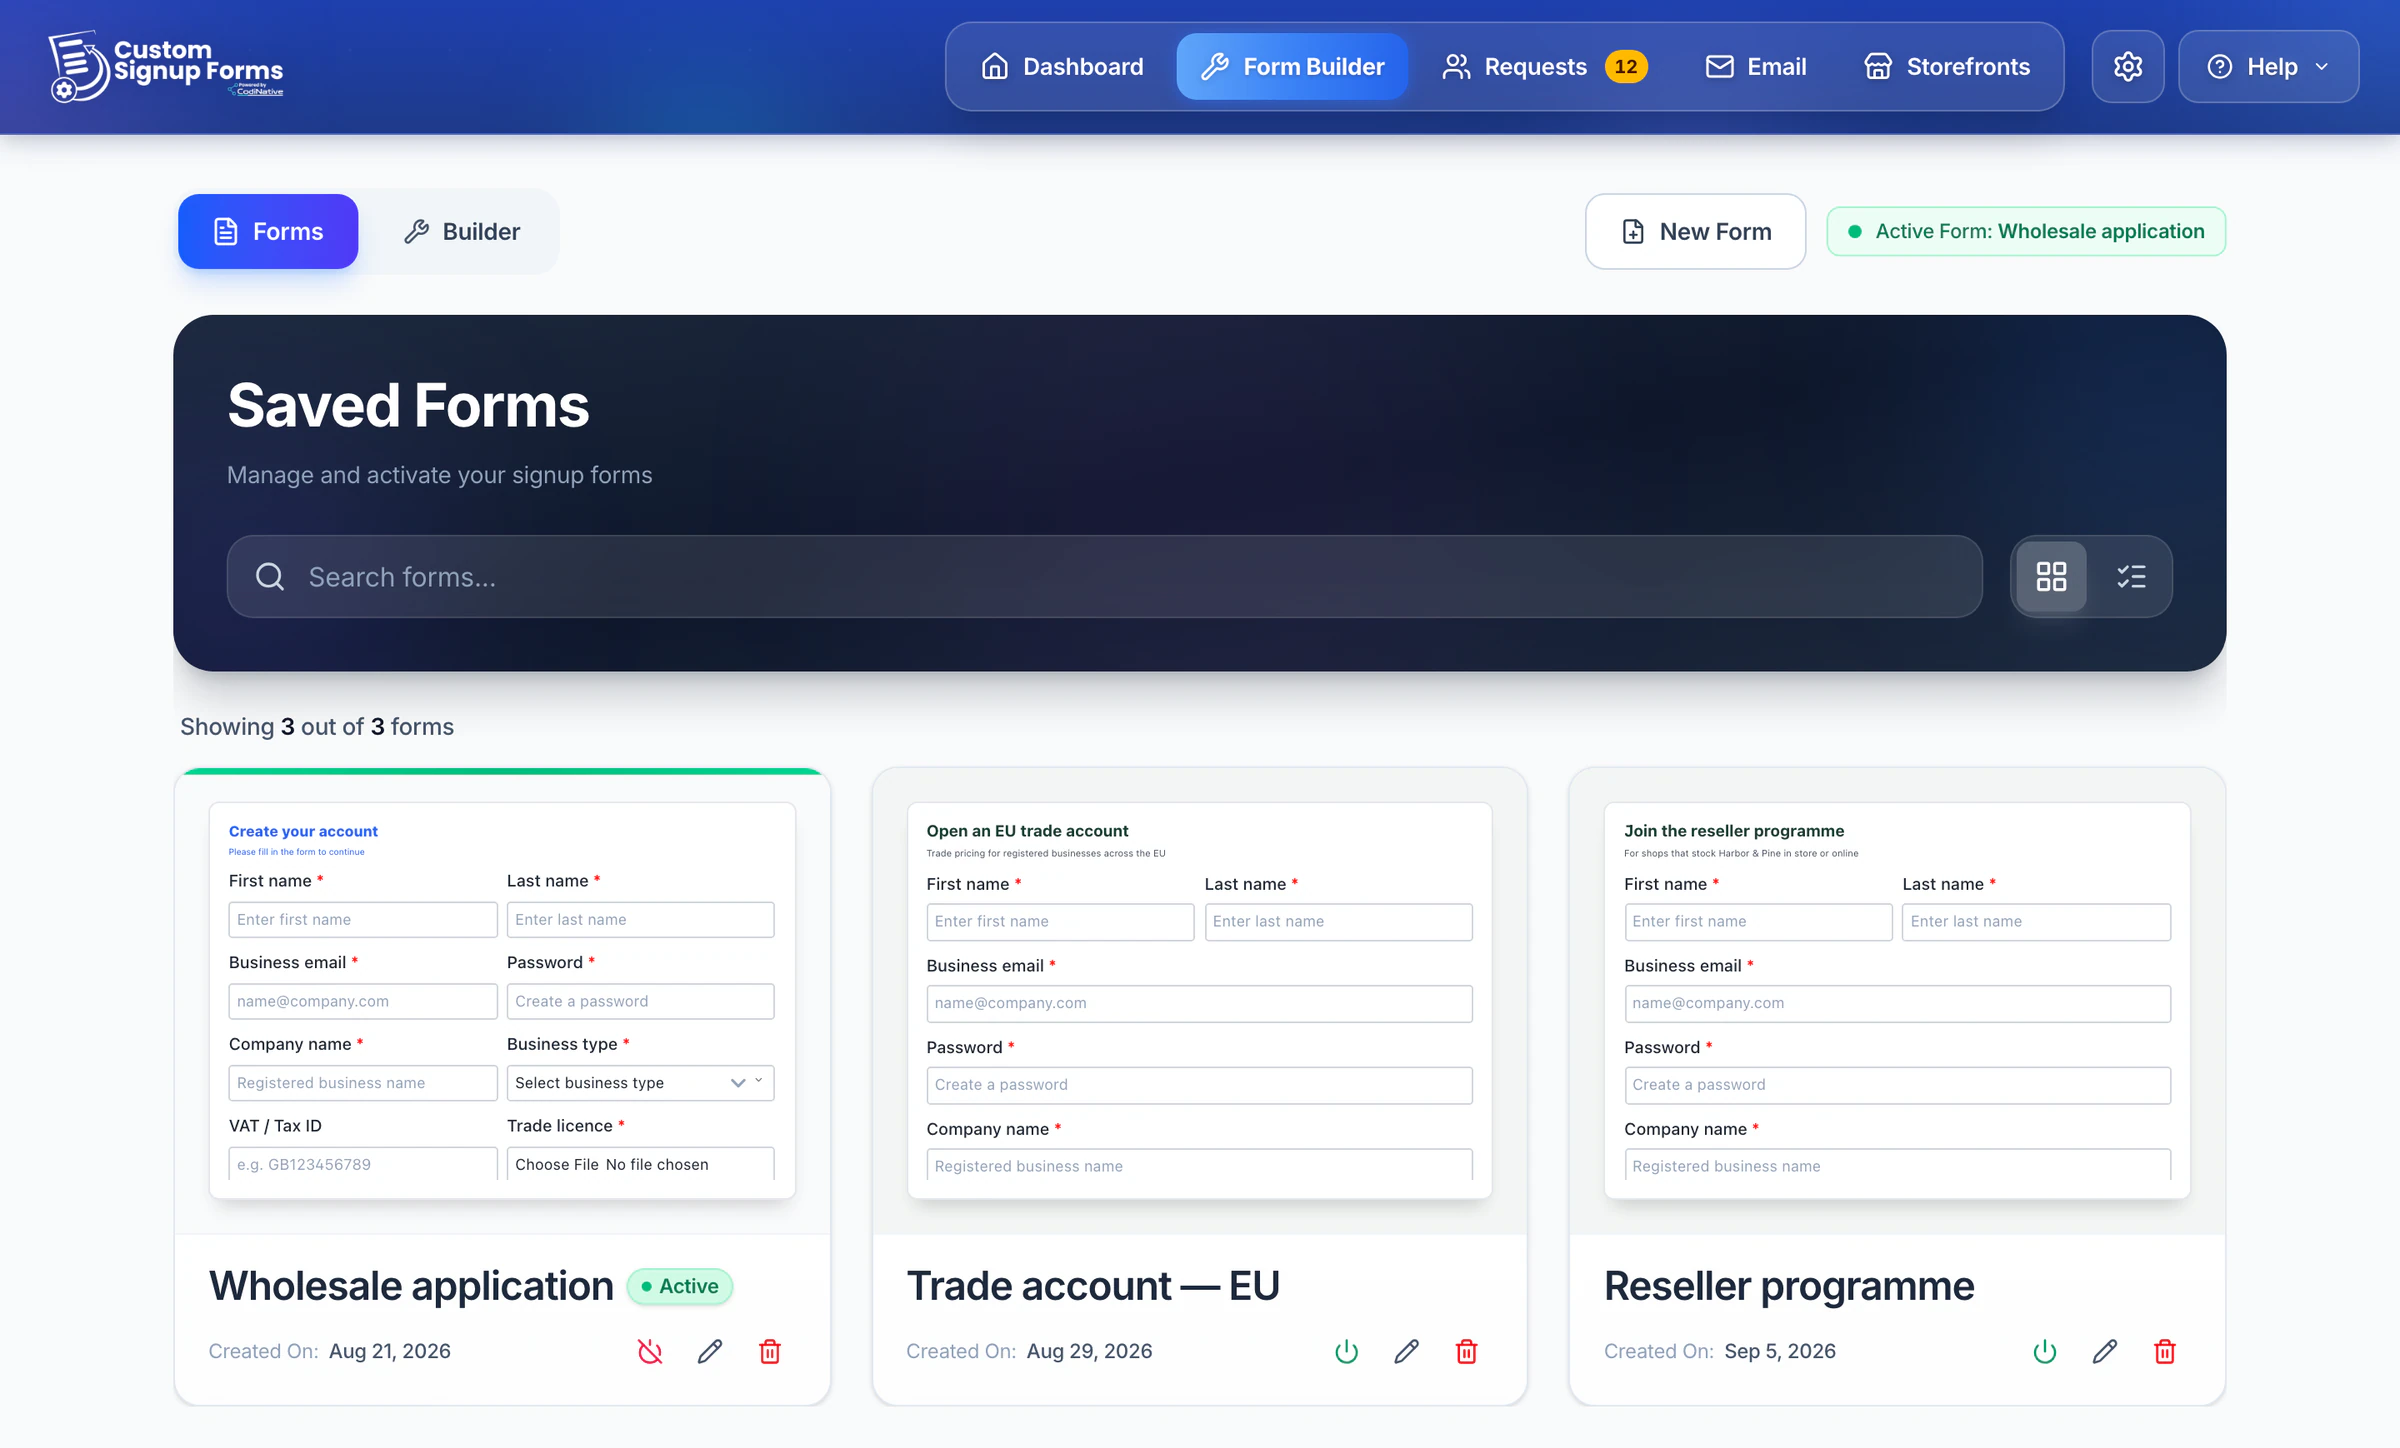
- 5Activate itIn Form Builder → Forms, click Activate on the form. The app adds the storefront script for you: nothing to paste.
- 6Test on your storefrontOpen your store's create-account page, send a test application and find it under Requests. Then set up emails and approvals.
The storefront script
You don't add any code to a standard storefront. When you activate a form, the app installs one script through BigCommerce's Scripts API:
- It appears in Storefront → Script Manager as Custom Signup Form. Leave it there; the app keeps it up to date.
- On your create-account page it replaces BigCommerce's form with yours and shows a thank-you message after the shopper submits.
- Editing the active form needs no new script: shoppers get the new version the next time the page loads.
- Deactivate the form in the app to remove the script and bring back BigCommerce's own form.
With multi-storefront on, the app installs the script on each storefront you switch on (Multi-storefront Guide). A headless storefront needs the embed snippet added by your developer (Headless Storefronts).
Troubleshooting
The default form still shows
Check that a form is active: Form Builder → Forms names the active form at the top right. With multi-storefront on, open Storefronts and check that the storefront has a form and is switched to Serving. On a headless storefront, both embed steps are needed. Then reload the create-account page.
Submissions aren't appearing in Requests
Choose the All filter and, with multi-storefront on, All storefronts in the header. Someone who already has a pending request or an account, or who was rejected within the cooldown period, can't submit again with the same email. On the Free plan the form stops taking signups after 100 in a month.
Approved customers aren't in the right group
Pick the group in the Approve dialog, or set a rule under Settings → Customer Groups (Standard plan and up; the Free plan assigns no group). Groups must exist in BigCommerce before they appear.
Applicants don't get emails
Customer emails need a paid plan, your SMTP details and Enable Customer Emails switched on under Email → Email Settings (Email and SMTP Setup), and the email's own switch on under Settings → Email Sending.
Still stuck? Email info@codinative.com - we reply within one business day.